Dressing up her walls!
Moving with a toddler is stressful to say the least but the
one thing that really excited me about moving was that my daughter would finally
have a room to call her own! And best of all I would get to decorate her
walls!! After my first experience with a small monogram decal over her crib I couldn’t
wait to try something bigger and more elaborate. I didn’t know exactly what I
was looking for, but I had two things in mind. Firstly I wanted something with
her name in it and secondly I wanted a wall growth chart like the one shown in
the photos below.
I simply love the growth chart decals and originally wanted to put that up first but later decided to hold off on those because the wall decals can’t be reused once they are taken off the wall which means I would loose all the markings I made on it if we move again. I decided that instead of a decal chart I would buy or maybe even make my own wall chart out of wood like this one I found on Pinterest. The advantage of the wood is that we can always take it with us if we move.

So with the growth chart project on hold I started looking
for inspiration for a personalized wall decal. While searching on etsy I
stumbled upon this decal by Surface Inspired.

It was love at first sight! I thought it was without a doubt the sweetest wall decal I had come across so far, and I had seen more than my fair share by this point. But I was a little hesitant to order it because it was bit expensive. With this decal in mind as inspiration, I narrowed my search to decals featuring a tree, birds and a name. I saw many other decals that had similar features such as the ones shown below.

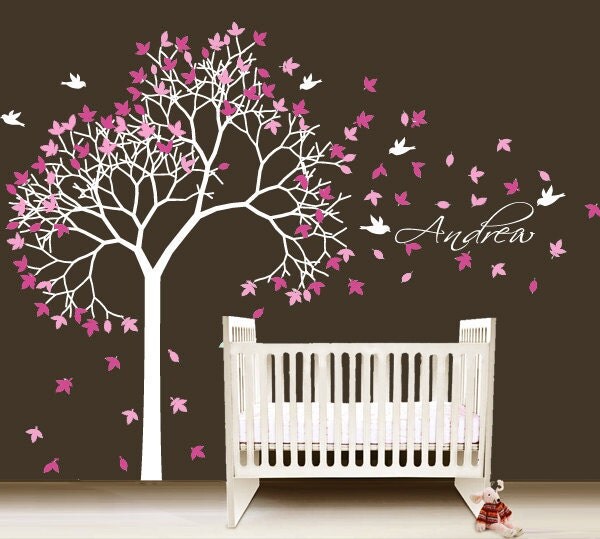
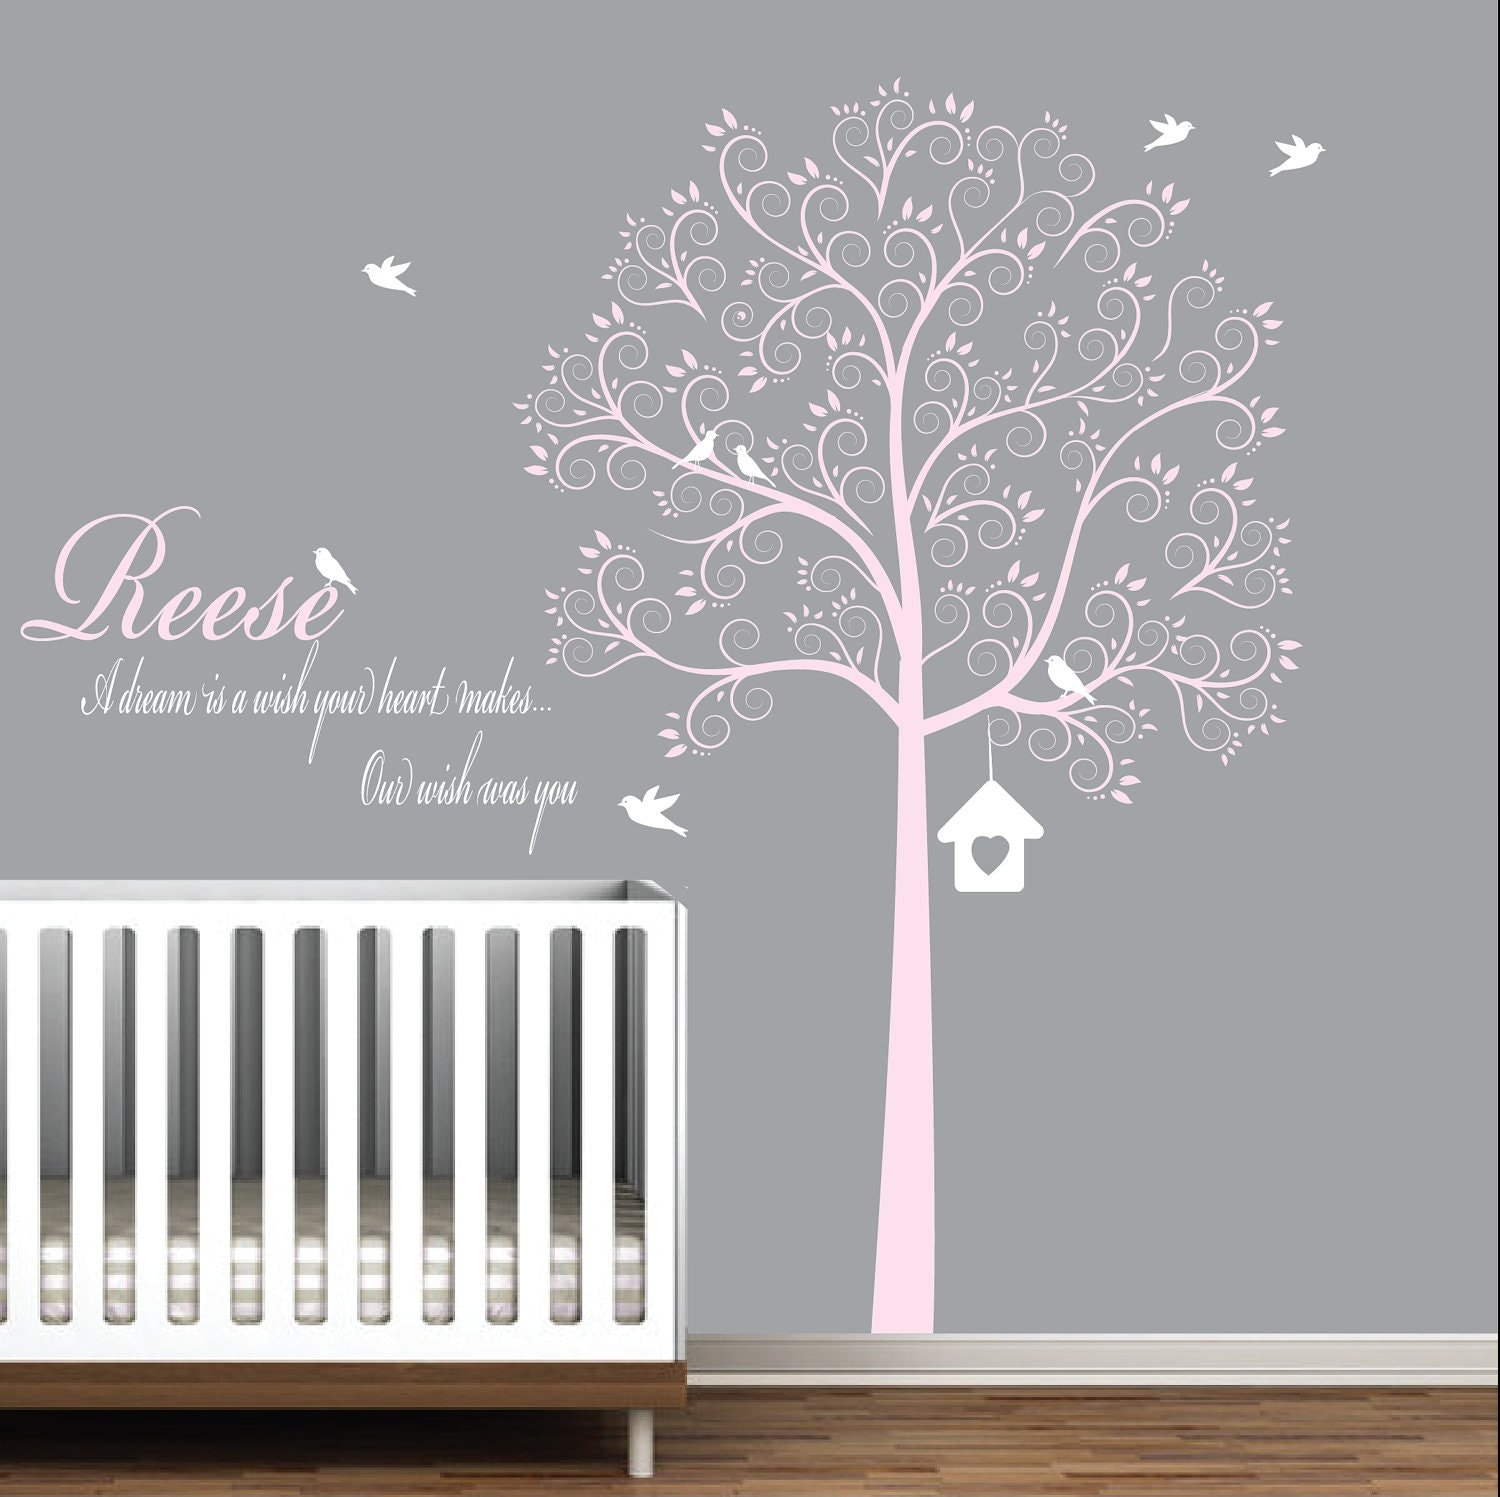

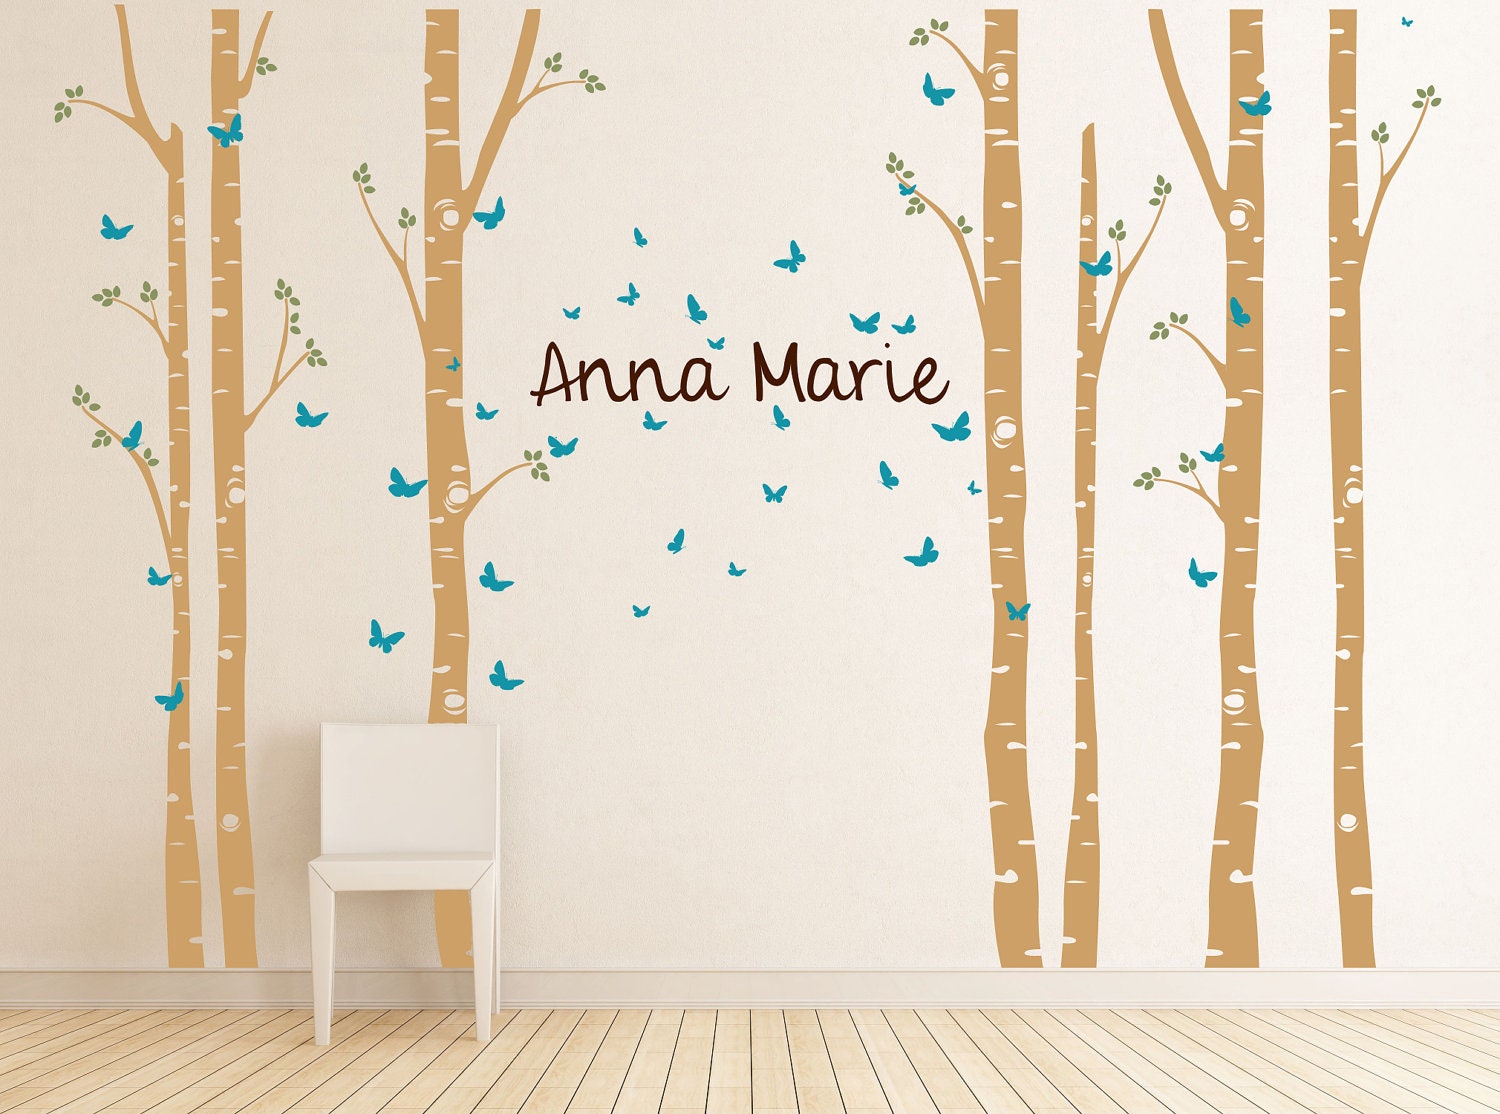
They were all really nice and each of them had elements I liked and better prices too, but for some reason I still kept going back to Olivia decal by Surface Inspired. There was something about that Olivia decal that just drew me in. It was the right balance of fun and sweet without being too cartoon-like, or over the top.
I decided to reach out the to seller Surface Inspired and see if he would maybe give me some sort of a
discount. I had no idea what to expect since I don’t buy on etsy often. I asked
if he could scale the decal down and make it smaller or possibly give me less
leaves, birds and grass for a lower price. He responded and said he would be
willing to give me $15 off the price for less birds, leaves and no grass. He
also told me that if I checked out his facebook page he had a promo code there
for an additional discount. I thought about
his offer for a while and initially said no. But after discussing it with my
husband and showing him all the other decals I had considered, my husband also
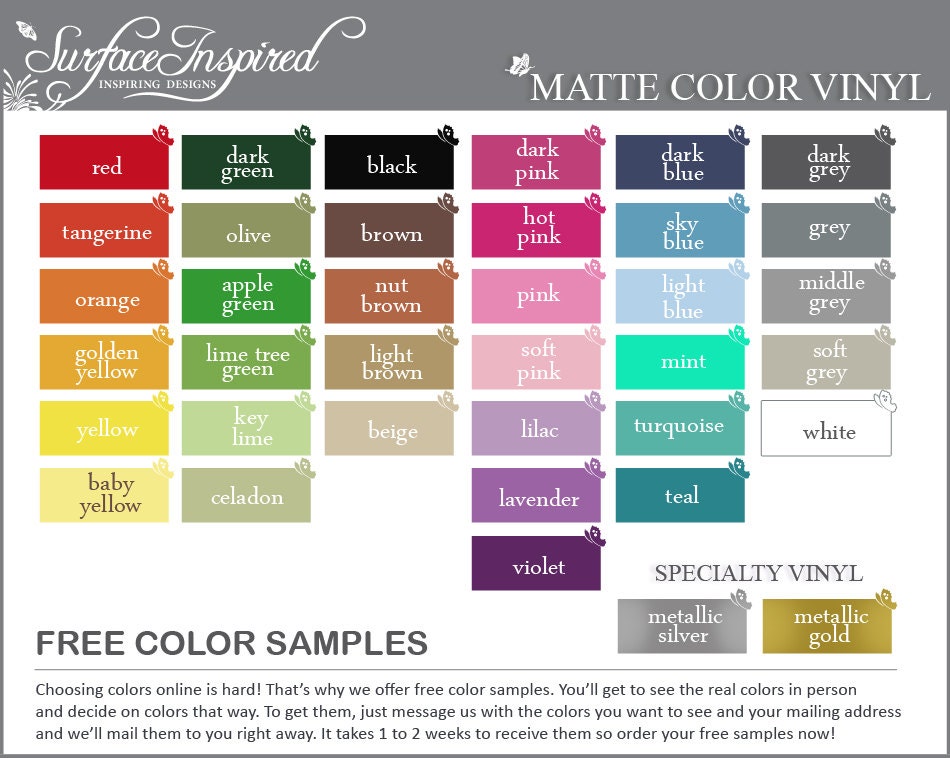
preferred the Olivia decal so we decided to go ahead and order it. Now I had to decide which colors to get. This is the color chart on his etsy page.

I was really tempted to use the same colors as our previous decal which was chocolate brown and pink in honor of our wedding colors but decided to mix it up with a fresh color palette. I couldn't use the same colors as the Olivia sample since our walls are ivory and too light for the white tree to show up properly. So I decided to choose dark grey and violet. When the decal arrived the dark grey looked a bit darker than I expected and looks almost black in pictures but I still love it.
I was really tempted to use the same colors as our previous decal which was chocolate brown and pink in honor of our wedding colors but decided to mix it up with a fresh color palette. I couldn't use the same colors as the Olivia sample since our walls are ivory and too light for the white tree to show up properly. So I decided to choose dark grey and violet. When the decal arrived the dark grey looked a bit darker than I expected and looks almost black in pictures but I still love it.
I received the decal sooner than
he told me to expect it and best of all when I opened it up, he had included the full amount of leaves, grass and birds!! I was pleasantly surprised. I
was really impressed with Surface Inspired for
giving me more than he had agreed to. He also included a squeegee decal tool
and clear instructions of how to apply it to the wall, as well as printed out copy of the picture. I highly recommend them
and will order from them again!!
The decal arrived just after we had moved into our new place so
it took about two weeks for me to finish applying it on the wall because I didn’t
have much free time. Once I started working on it, it brought back memories of all my wedding DIY projects and how scary they all seemed until they were completed. This was no different, it was very time intensive with so many pieces of the puzzle to put together. The decal
arrived in small sections all printed out on big rolls of paper and had to be cut out and carefully applied to the wall
in such a way that it would look like one piece once I was done.


As you can see in the photos above I used her toys as paperweights to keep the paper flat while I cut out the pieces. The photo below shows the blank wall in her room before we started the decal.


Once I was satisfied that it was straight, I carefully removed the backing paper which was pretty tricky to do since the decal was so large. I used the center hinge trick that was explained in the instructions.


When I was done with the tree, I took a break for a couple of days and then set about on the most labor intensive part of the project; the leaves. I lost count of how many leaves there were!


Once the tree was completed I gradually added the grass, birdhouse, birds and name. I didn't use all decals he sent me; I used less leaves and grass because I felt the space was too tight for it and it would look too crowded. I also decided not to have the falling leaves so instead I put a few leaves at the bottom with the grass. I also have one bird left over which I may use later. Here is the finished project!

Overall it was time consuming but fun to see the whole picture coming together on the wall. It was far less messy than paint or wall paper and she now has a personalized work of art to wake up to everyday. It has really made her room come alive!


Well done, you did a great job. It is nice how you further personalized it by using the amount of leaves etc to suit the wall space.
ReplyDeleteIt is so pretty
Marian.
Thanks Marian!! :)
ReplyDeletei really really like the measuring aid that looks like an oversize ruler!! so cute
ReplyDelete