Washi tape birthday letters
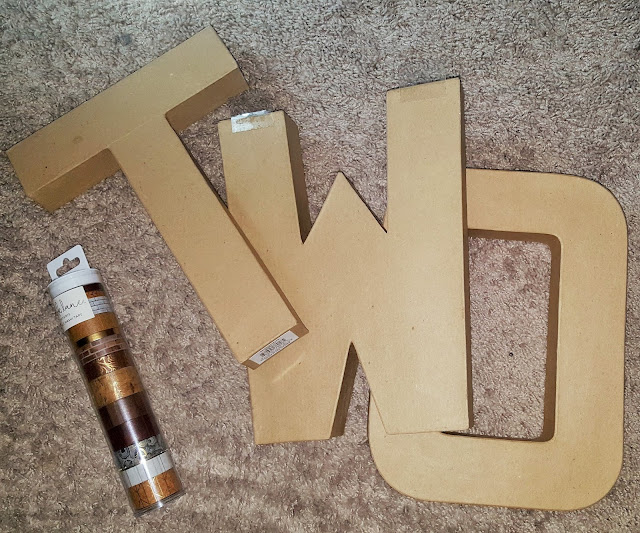
It's that time of year again! My precious son just turned two! As is our tradition, we had to do birthday photos and I decided to try a different type of prop! Wood letters have been my go to choice over the years, because I am obsessed with wood! And painting wood is so easy and satisfying! I've also played with textures and tried tissue paper flower numbers and a fabric covered numbers but this time I wanted to try something different. I decided to go with washi tape decorated paper mache letters
The world of washi tape is so magical and fun there are so many color, size and finish options. I picked up a mixed pack of earthy toned tapes from Joann's and decided to mix and match them for a more fun effect.The beauty of working with washi tape is that it is sticky but not too sticky, so you can re-position it multiple times. The downside is that on certain surfaces the tape needs a bit of glue to stay down flat. There is no right or wrong way to apply the tape, whichever way you do it it creates a slightly different pattern and effect.
For the first two letters I mixed and matched a couple of different patterns but used one solid color for the letter O.
As far as DIY projects go, I would say this was one of the more straightforward things I have tried. The best part of this project is my little ones "helping me" by covering everything they could lay their little hands on with washi tape!


Comments
Post a Comment