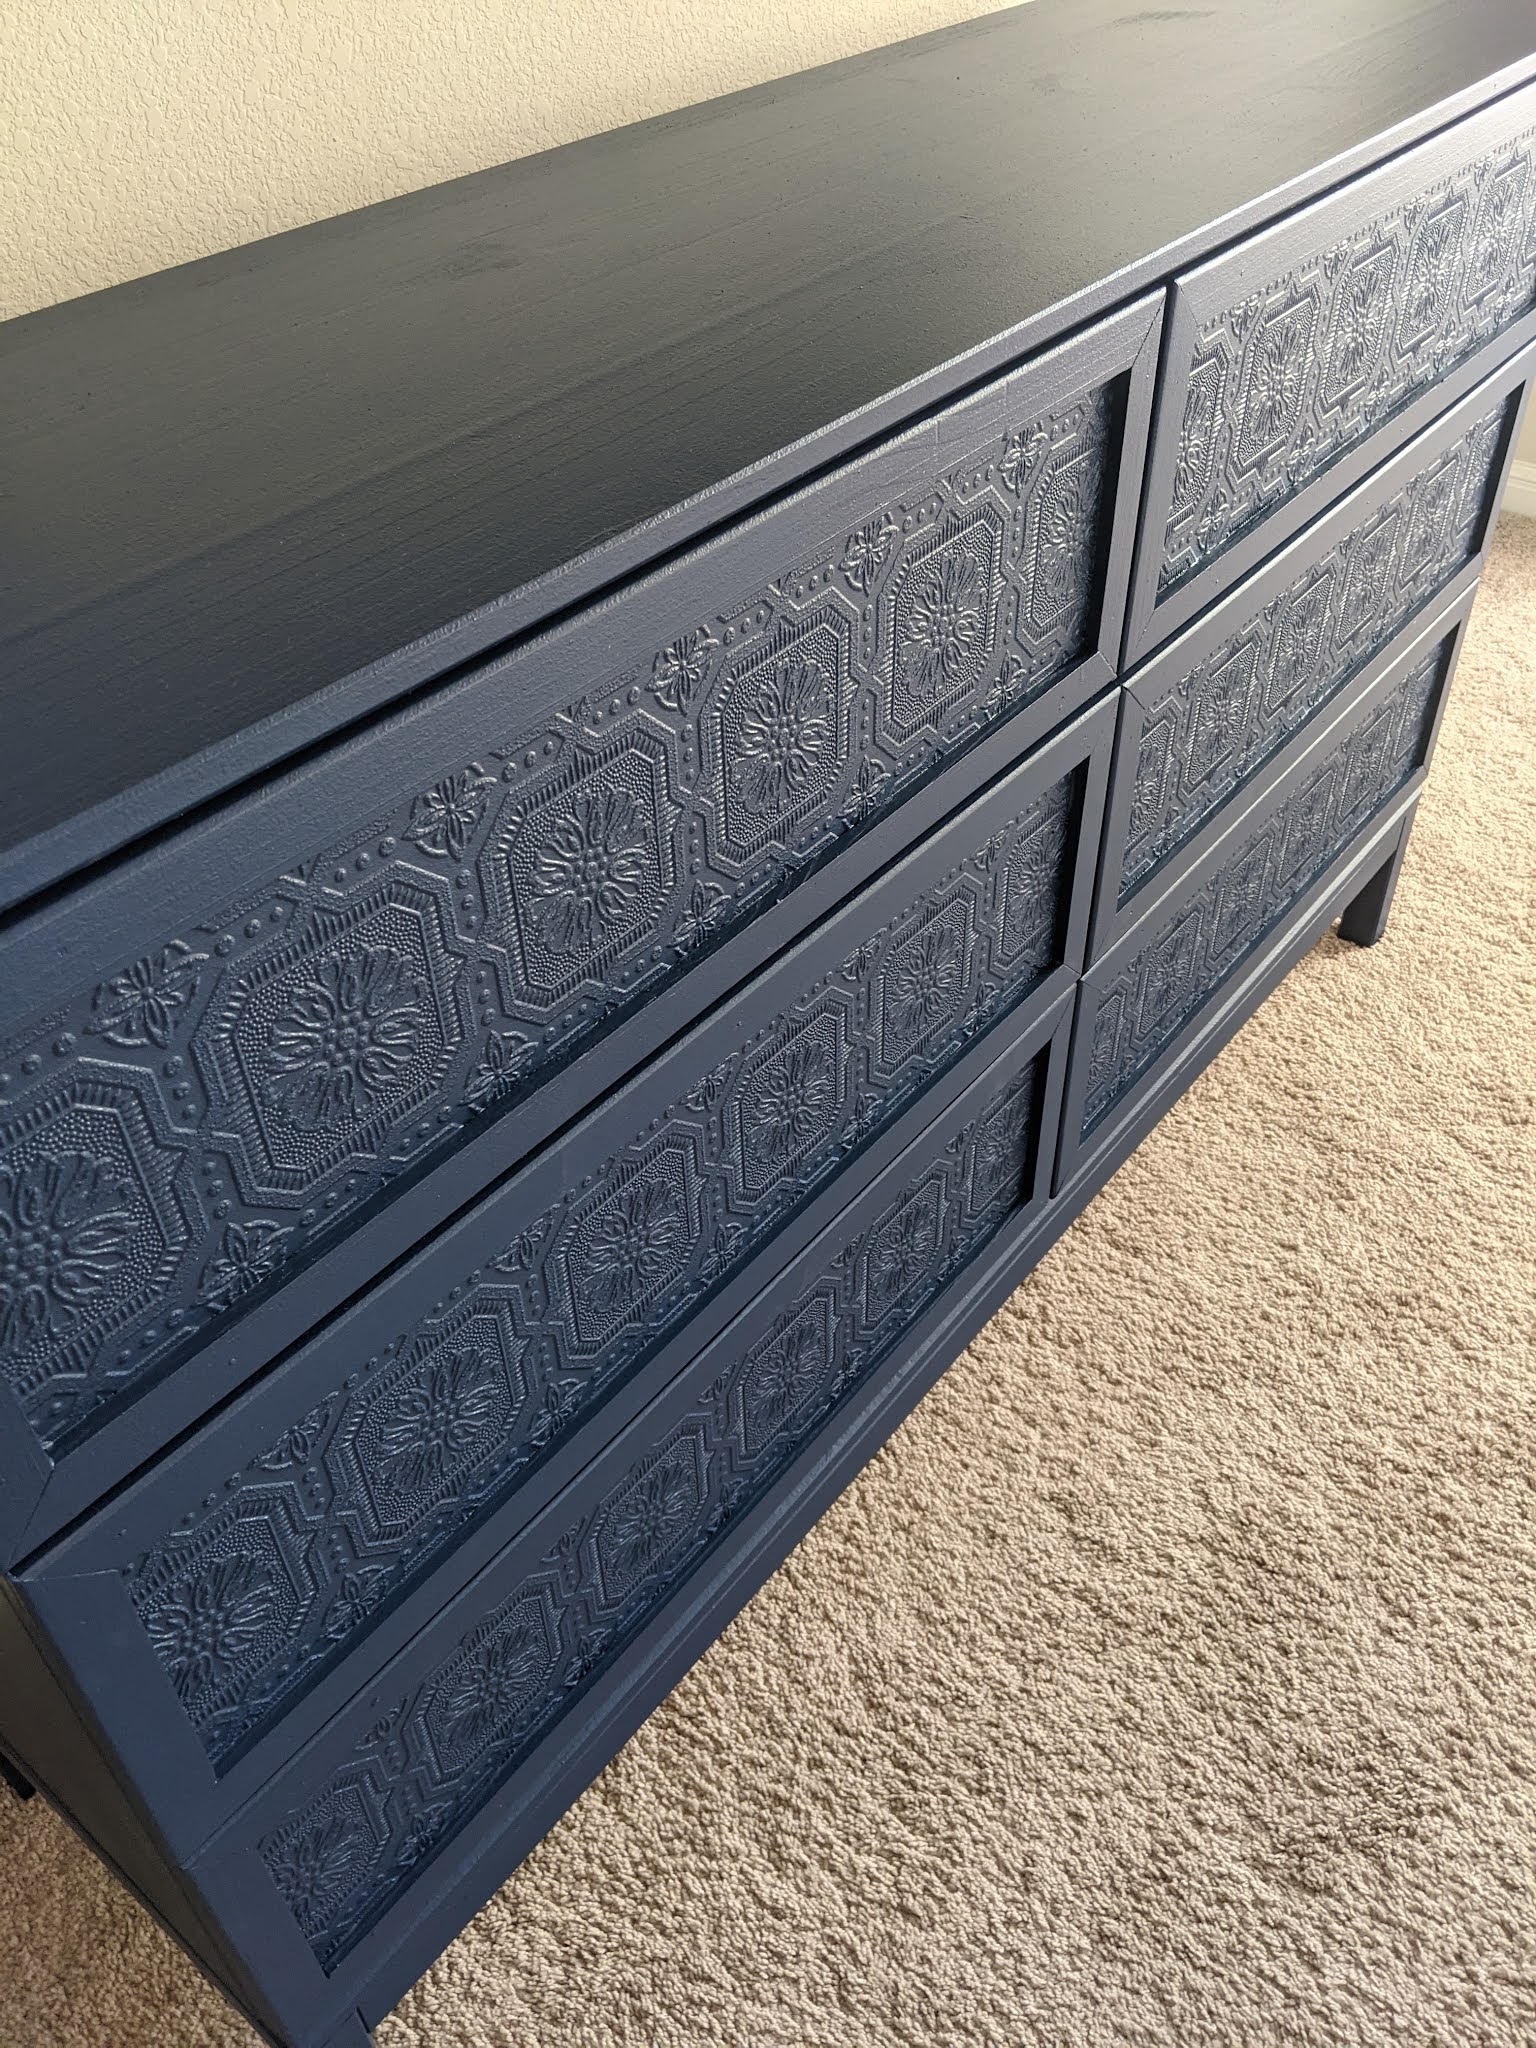
IKEA TARVA Hack - Navy & Brass dresser with paintable wall paper
In all our years of being married, we've never had a dresser in our master bedroom because we could never find the perfect one. My heart was set on a navy and brass horizontal dresser but all the ones I found were too tall, too narrow, too blue, too office-ish... you get the point. I considered buying a used dresser and repainting it but then I stumbled across a post by Champagne Chaos updating her IKEA Tarva and decided to try it out. Although I'm not a big IKEA fan I was really drawn to the simplicity of this dresser and how it only took a few basic additions to transform the entire look of the dresser. I also preferred this option because the dresser is sold with untreated wood that is ready to paint so I wouldn't have to spend time stripping paint or sanding it first. I followed along with her steps but changed certain things along the way to better suit my taste. I started out with the list of materials below
 |
 |
| Before |
- IKEA Tarva dresser (untreated pine)
- Graham & Brown Paintable wallpaper
- Pine stop
- Brass pulls
- Wallpaper adhesive
- Wire brads
- Behr Eggshell interior paint (Very Navy)
- Paint roller & tray set
We assembled all our materials as shown below. We used a miter box and saw to get the exact 45 degree angle on each cut of pine stop. Some sandpapering was still required to get the edges to sit flush against each other. Because the pine stop has one rounded edge, it's important to keep the rounded edges on the outside.

The next step was cutting and sticking the wallpaper to the front of the drawers.


Once the wallpaper was firmly attached to the front of each drawer, the next step was to frame it with pine stop using wire brads.


We chose to assemble it before painting to be sure we had all the parts and that everything fit together properly. Once it was fully assembled we took it outside, took the drawers out, and got to work on the paint. I used rollers for the first and second coat and then used a 1.5" brush and 1" foam to touch up the edges afterwards.
Behr premium plus paint & primer is such an excellent paint to work with, it gives really great coverage with one coat and dries so quickly! Although there are so many nice shades of navy paint, I really liked the Very Navy color best and decided to go with that. The color will look slightly different depending on the surface and finish but in eggshell it is a true navy with a hint of steel.

I chose to use it in an eggshell finish instead of matte because I know for a fact that our little ones would be rubbing their fingers all over it in no time, and egg shell can resist finger prints and scuffs a lot better than matte.
If you are new to painting, Home Depot has a quick guide to the different finishes to help you choose

I started out by painting the edges with a touch up roller, then upgraded to the 4" and 9" rollers as I got to the bigger areas. I only covered areas that would be visible from the outside.


While I really liked the look that Champagne Chaos had gone for combining the leather pulls with copper piping, I wanted a much more minimalist effect for our room. In fact, I usually prefer my cabinets and drawers to have no handles at all. But in this case I specifically wanted the navy/brass combo to tie in with other design elements in our room so I was happy to find sleek antique cabinet pulls that fit my vision. The final step was to anchor the cabinet to the wall ( which you absolutely must do with IKEA furniture)
Overall it was a time consuming project but we worked on gradually on the weekends and it was so much fun seeing it come together!


Comments
Post a Comment